 Save
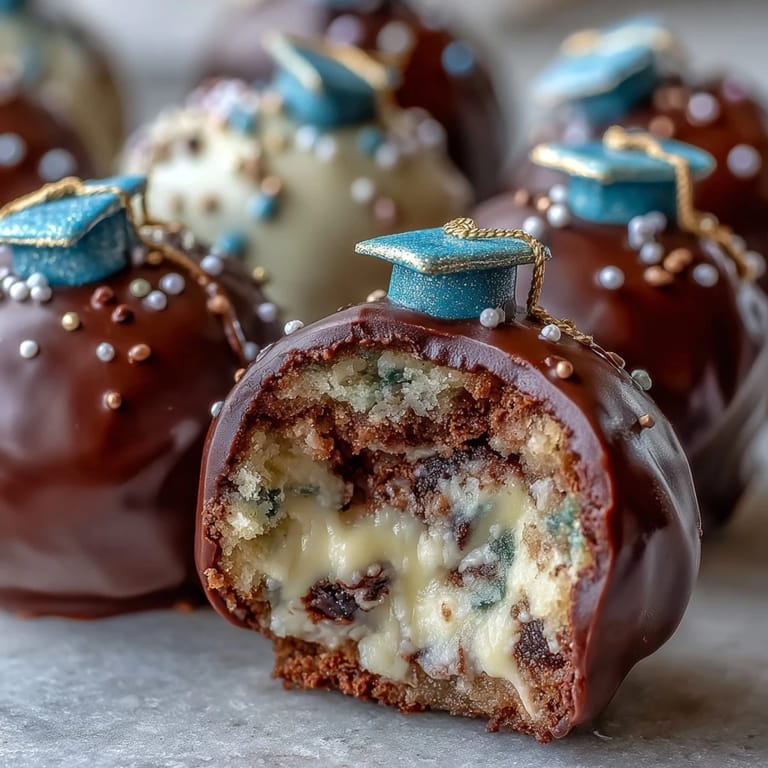
Save The sound of candy melts clinking in a glass bowl always sends a quirky thrill through my kitchen. Last June, this recipe was born out of pure necessity my niece declared she wanted cake in the shape of 'graduation on a stick' for her party, in colors impossible to find at the store. The resulting cake pops ended up being a centerpiece and, frankly, a conversation starter that rivaled the graduate herself. The colors, the sheen, that slightly mischievous aroma of chocolate mingling with sugar sprinkles—it all told a story of celebration, and a lot of quick hands wanting to 'help.' There's something joyfully methodical about shaping sweets with a crowd gathered and anticipation rising.
The day I first made them for my nephew's big send-off, half the family ended up around the kitchen island, dipping and decorating with more giddiness than I'd seen since childhood. Glitter got everywhere (including the dog), but watching our handiwork line up in neat, colorful rows was somehow more satisfying than baking any cake I'd done before.
Ingredients
- Vanilla or Chocolate Cake Mix: The backbone of every pop—opt for quality as it makes crumbling easier and yields a moister bite. Homemade works beautifully too, especially when cooled fully.
- Cream Cheese or Buttercream Frosting: Just enough melds crumbs into sculptable dough; too much makes a sticky mess, so add with care.
- Candy Melts in School Colors: The all-important coating—candy melts melt more smoothly than white chocolate but adding a bit of shortening keeps things glossy and easy to dip.
- Vegetable Shortening: A trick I picked up when coloring chocolate became temperamental; a little ensures the perfect dipping texture.
- Sprinkles, Edible Glitter or Colored Sugar: These transform each pop into a miniature celebration—feel free to experiment with shapes and sizes.
- Lollipop Sticks: Essential for easy handling and presentation; wooden or paper both work as long as they're sturdy.
- Mini Chocolate Chips: They're my go-to for tassel accents—just a dab of chocolate holds them perfectly in place.
- Fondant in School Colors: Optional, but turns each pop into a tiny graduation cap that never fails to get a smile.
Tired of Takeout? 🥡
Get 10 meals you can make faster than delivery arrives. Seriously.
One email. No spam. Unsubscribe anytime.
Instructions
- Bake & Cool the Cake:
- Follow the box or your favorite recipe, then let the cake cool completely to avoid sticky crumbs.
- Crumble & Combine:
- Break cooled cake into fine crumbs with clean hands or a fork—you want it to feel like fluffy sand. Mix in the frosting a spoonful at a time, stopping as soon as the dough holds together without feeling wet.
- Shape & Chill:
- Scoop and roll tablespoon-sized balls, pressing gently for smoothness. Arrange on a lined sheet and chill at least an hour so they're firm enough to handle.
- Melt & Prep Coating:
- Melt candy melts or chocolate in a microwave-safe bowl, pausing to stir until glossy. If the mixture feels stiff, stir in a bit of shortening for a silkier dip.
- Insert Sticks:
- Dip each stick tip into the melted coating before pushing it halfway into each ball, which helps keep the pops anchored.
- Dip & Decorate:
- Dip each pop into the coating, spinning gently for even coverage, then lightly tap off excess. Quickly sprinkle with sugar or press on fondant and attach chocolate chips before the coating sets.
- Set & Serve:
- Stand pops upright in a styrofoam block or cake pop stand. Let them firm up completely—they're ready when the coating feels cool and matte.
 Save
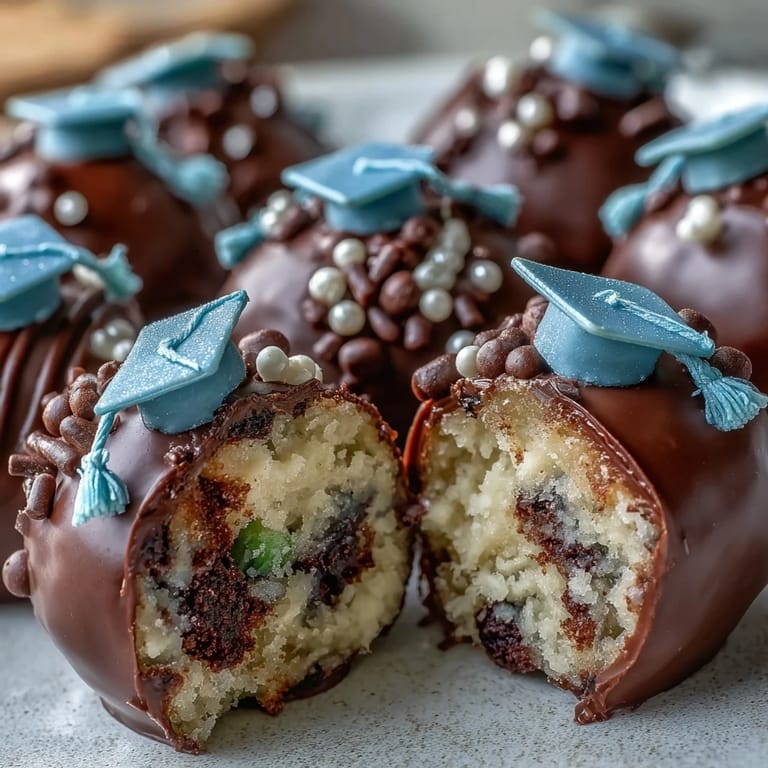
Save Watching everyone's faces light up as they chose their favorite color combo at the dessert table, I realized these cake pops had somehow become part of the day's memories just as much as the speeches and the diplomas.
How to Choose the Right Colors
Color matching became a mini-adventure in itself—I found that layering two close shades added dimension, and sometimes a touch of metallic sprinkles made the school colors really pop under party lights. When candy melts weren't available in exactly the right color, a bit of gel food coloring (and extra patience) saved the day without making the coating seize up.
Making Them Ahead of Time
Once, an early start for a morning ceremony meant I had to prep everything the night before, and I discovered that the pops actually taste better after an overnight rest. They firm up beautifully and the coating sets to a crisp, not sticky finish—just store in a cool room and you're set for a relaxed serving.
Troubleshooting Cake Pops
There were days when cake pops cracked or the coating slid off, but letting everything settle between steps truly changed my results. Getting the temperature right is half the battle.
- Use little batches so the coating stays warm and fluid.
- Chill shaped pops long enough, especially if your kitchen is warm.
- Always have a few extra pops—taste-testing is a form of quality control, after all!
 Save
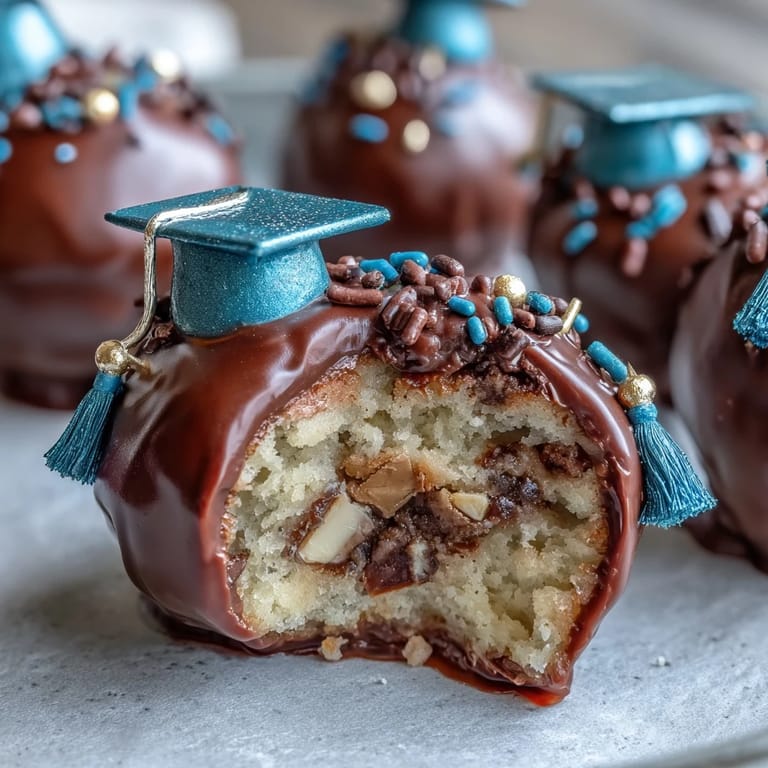
Save Here’s to making celebrations even sweeter—these cake pops are proof that a little color and creativity can turn dessert into a highlight. Wishing you just as many smiles in your kitchen as we had in ours.
Recipe FAQ
- → How do I keep the cake pops from falling off the sticks?
Dip each stick in melted chocolate before inserting it into the cake ball. Chill the pops before dipping for a secure hold.
- → Can I prepare cake pops ahead of time?
Yes, cake pops can be made in advance and stored in an airtight container at room temperature for three days or refrigerated for up to a week.
- → What kind of cake works best for cake pops?
Both homemade and box cake mixes work well. Ensure the cake is fully cooled and not overly moist for best results.
- → How can I make pops in my exact school colors?
Use candy melts or tinted white chocolate to achieve specific colors. Coordinate sprinkles and fondant for decorative accents.
- → Are cake pops suitable for those with dietary restrictions?
For gluten-free needs, opt for gluten-free cake mix and check labels on all additional ingredients and decorations.
- → How can I add graduation-themed decorations?
Press fondant squares on top of the pops for caps, and attach chocolate chips or use edible markers to add details like graduation years.