 Save
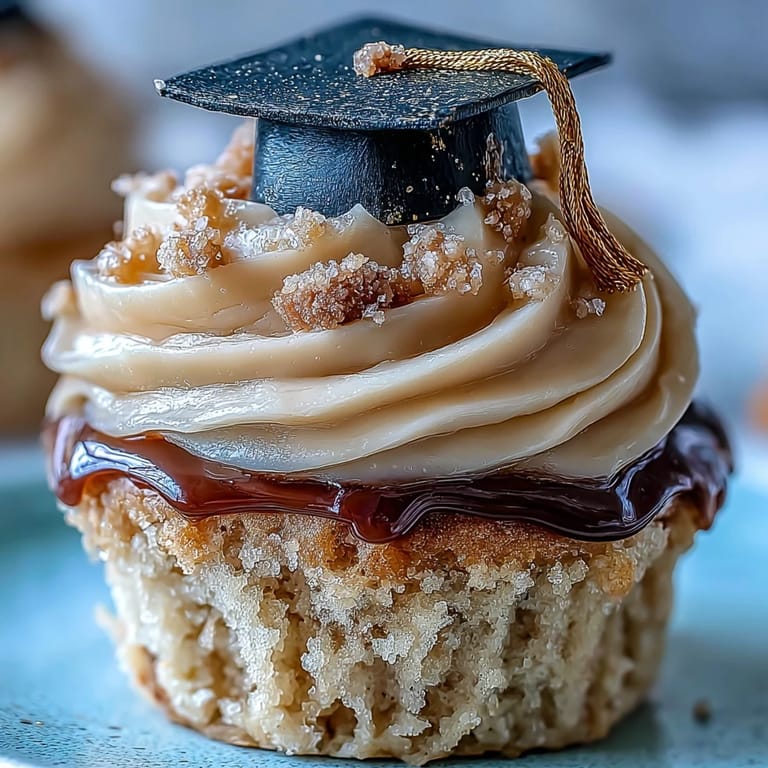
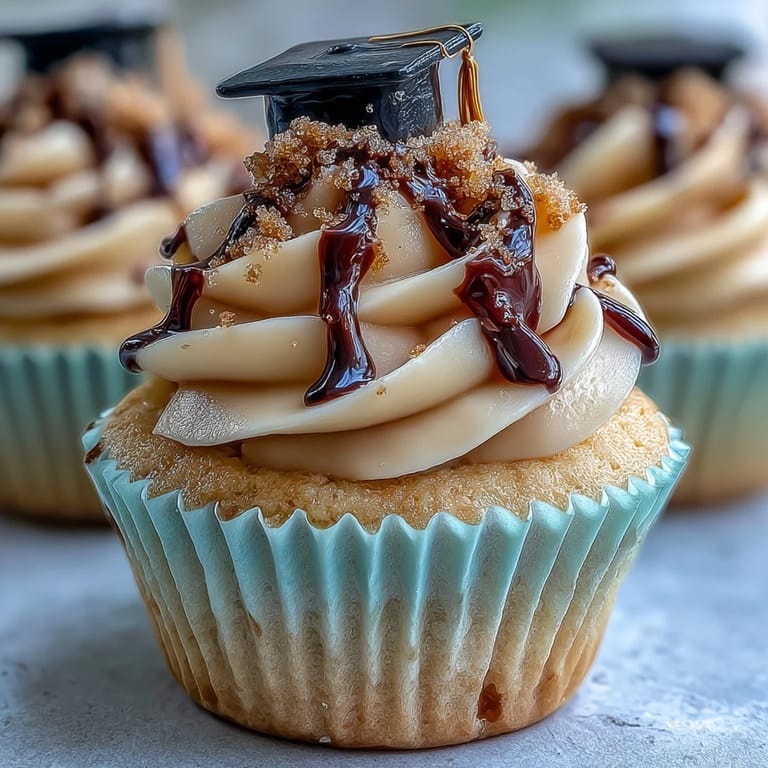
Save When I first decided to make graduation cupcakes for my cousin's big day, I didn't anticipate how much fun I'd have shaping those tiny fondant caps. The kitchen was filled with the clatter of bowls and the sweet, warm smell of vanilla drifting through the air. Frosting always draws curious eyes—my nephew peeked in right as I was piping swirls, and his excitement over the gold dust made me smile. It became more than baking; it was part celebration, part craft hour. Each cupcake, topped with a jaunty black and gold cap, felt like a little congratulatory handshake for every graduate.
The first time I brought these out at a graduation, my grandpa teased that the caps looked more official than his own. Everyone ended up taking photos of the cupcakes before even tasting them—though those didn't last long. There was laughter over toppled tassels and friendly competition for the best-decorated one. It was a reminder of how small details can turn dessert into a shared memory. I still recall the gold dust sparkling under the dining room lights as the cupcakes disappeared from the tray.
Ingredients
- All-purpose flour: Gives structure to the cupcakes; spoon it into your measuring cup for accuracy.
- Baking powder: Makes the cakes rise and keeps the crumb extra light.
- Salt: Just a pinch brings all the flavors together and sharpens the sweetness.
- Unsalted butter (for both cupcake and frosting): Softened butter creams beautifully and ensures both cakes and frosting are smooth.
- Granulated sugar: Sweetens the cupcakes and helps them brown nicely.
- Eggs: Bind everything together and add rich flavor; make sure they're at room temperature.
- Vanilla extract: Adds warmth and depth to both the cakes and the buttercream.
- Whole milk: Keeps the cupcakes tender; room temperature is best so your batter doesn't seize.
- Powdered sugar: Sifting is key for a lump-free buttercream that's cloud-light.
- Black fondant: Easy to work with—dust your hands with cornstarch to prevent sticking.
- Gold fondant: Makes the tassels and adds a pop of celebration-worthy color.
- Edible gold dust: Optional, but a little shimmer brings the caps to life.
- Cornstarch: Essential for rolling out the fondant without sticking to your counter.
- Edible adhesive or water: A dab is enough to glue fondant pieces together securely.
Tired of Takeout? 🥡
Get 10 meals you can make faster than delivery arrives. Seriously.
One email. No spam. Unsubscribe anytime.
Instructions
- Prep the Oven and Liners:
- Set your oven to 350°F and nestle cupcake liners into each section of the muffin tin—this makes unmolding a breeze later.
- Mix Dry Ingredients:
- Whisk together the flour, baking powder, and salt until combined, watching tiny whisps of flour puff up as you stir.
- Cream Butter and Sugar:
- Beat the butter and sugar together until it turns pale and fluffy; you want to hear the mixer hum and see ribbons form.
- Add Eggs and Vanilla:
- Add eggs one by one, letting each incorporate fully, then pour in the vanilla for an instant scent boost.
- Combine and Add Milk:
- Mix dry and wet ingredients in batches, alternating with milk—do this gently, just until the last streak of flour disappears.
- Fill and Bake:
- Spoon the batter evenly into liners and bake for 18 to 20 minutes; peek in around 18 for cupcakes lightly golden on top and a toothpick that comes out clean.
- Cool the Cupcakes:
- Let them rest in the tin a few minutes, then cool completely on a rack so the frosting doesn't melt away.
- Make the Buttercream:
- Beat softened butter with powdered sugar, a pinch of salt, vanilla, and milk until creamy and smooth—it should whip up light and easy to spread.
- Pipe or Spread Frosting:
- Once cupcakes are totally cool, pile or swirl buttercream on top—it's okay if you sneak a taste along the way.
- Shape Fondant Caps:
- Roll out black fondant on a cornstarch-dusted surface and slice 12 neat squares; roll 12 small balls and press each one slightly for the cap base.
- Assemble Caps:
- Attach a black square to each fondant ball with a little edible adhesive or water, pressing gently to secure.
- Add Gold Tassels and Finish:
- Shape thin ropes of gold fondant, add a small gold button where the tassel meets the top, and brush with gold dust for extra shine—then top each cupcake with its finished cap.
 Save
Save The day my sister finally got her diploma, these cupcakes waited on the counter, gleaming under kitchen lights. The sight of her so happy—standing by the tray, laughing with frosting on her nose—turned these treats from mere desserts into a way to say I'm proud of you.
Getting the Perfect Buttercream Swirl
Piping the buttercream swirl was tricky until I realized the secret is room temperature frosting and slow, steady pressure on the piping bag. I've even used the back of a spoon for a rustic look, which works beautifully if you don't have the exact tools.
Rolling and Shaping Fondant Like a Pro
Don't be afraid of fondant—even if your first square looks wonky, a little reshaping with your fingers goes a long way. Cornstarch keeps things from sticking and a gentle touch prevents the gold tassels from tearing.
Making Cupcakes Ahead and Storing Them
There's no rule that says cupcakes have to be made right before serving. In fact, letting them rest overnight in an airtight container helps them stay moist and lets the flavors mingle.
- Wait until completely cool before sealing them up.
- Store frosting and fondant caps separately if possible for perfect texture.
- A quick brush of gold dust can liven up any smudged cap before serving.
 Save
Save Whether you're celebrating a graduation or just looking for an excuse to play with fondant, these cupcakes deliver on taste and fun. Sharing them always brings a little extra joy to the table.
Recipe FAQ
- → How do I keep the buttercream smooth and pipeable?
Beat softened butter until light, then add sifted powdered sugar gradually and a splash of milk. Chill briefly if too soft, or beat a little longer if too stiff to achieve a smooth, pipeable consistency.
- → What’s the easiest way to shape fondant caps?
Dust your surface with cornstarch, roll black fondant to an even thickness, cut 1.5-inch squares for the tops and form small flattened balls for the bases. Attach with a dab of water or edible adhesive.
- → Can I prepare cupcakes and fondant ahead of time?
Yes. Cupcakes can be baked a day ahead and stored airtight. Fondant caps can be made ahead and kept in a cool, dry container; assemble on the day of service for best appearance.
- → How do I get a metallic gold finish on the tassels?
Use gold fondant for tassels and enhance shine with a light brush of edible gold dust or luster dust mixed with a tiny amount of clear alcohol or lemon extract for painting.
- → Any tips for adapting this for dietary needs?
Swap dairy butter and milk for plant-based alternatives to make a vegan version; use egg replacer and check fondant ingredients for animal-derived additives to keep it suitable.
- → How should I store decorated cupcakes with fondant?
Keep decorated cupcakes in a cool, dry place in a single layer in an airtight container. Avoid refrigeration if possible, as moisture can soften fondant; if warm, refrigerate and bring to room temperature before serving.