 Save
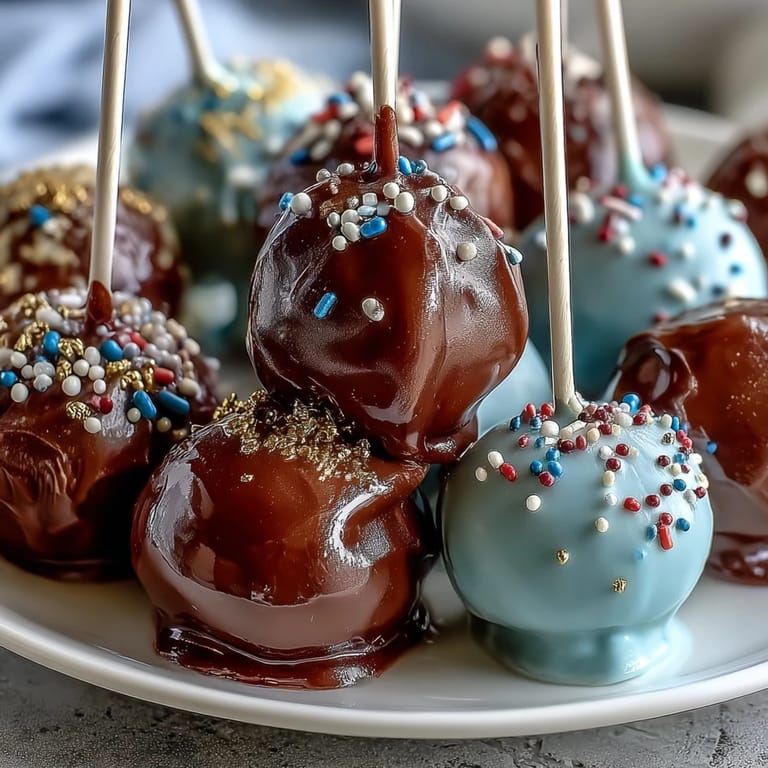
Save My best friend called me three weeks before graduation in a panic—she'd volunteered to bring desserts for the class celebration but had no idea what would actually impress everyone. We were sitting in her kitchen when I suggested cake pops in our school colors, and her entire face lit up. There's something about a treat that's both delicious and deeply personal that makes a moment feel official, like you're holding a tiny edible diploma in your hand.
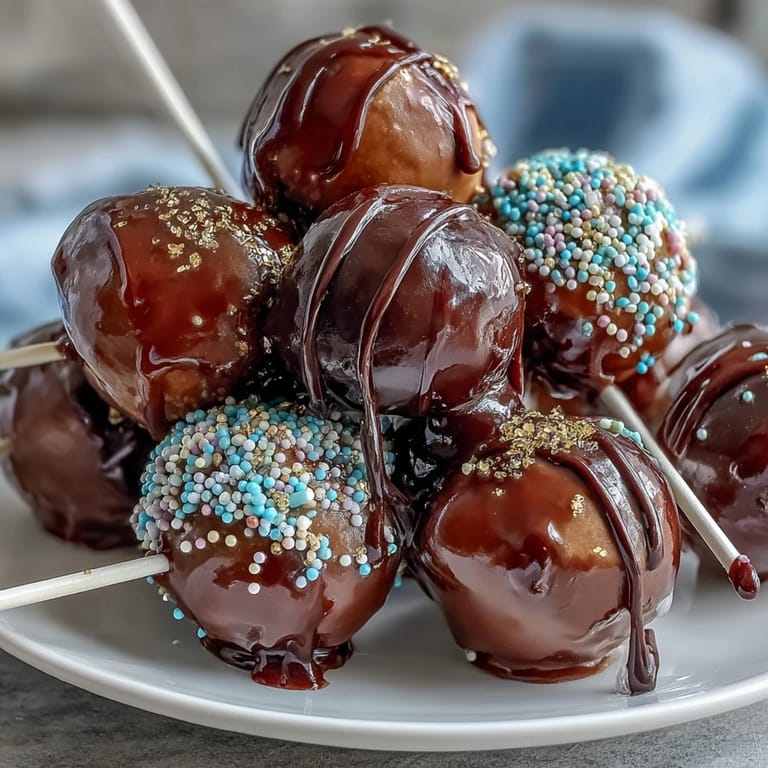
I'll never forget watching my friend hand these out at graduation. A girl who'd been quiet all year bit into one and grinned so wide it made the whole circle of us laugh. That's when I realized these cake pops weren't really about the vanilla cake or even the sprinkles—they were tiny edible reminders that someone had taken time to make something special just for the occasion.
Ingredients
- 1 box vanilla or chocolate cake mix: The shortcut that makes this whole project doable—trust me, scratch cake would steal hours you could spend decorating or celebrating.
- 1/2 cup softened unsalted butter: Room temperature butter blends into the frosting without lumps or overworking, so get it out of the fridge 30 minutes ahead.
- 1 1/2 cups powdered sugar: Sifted briefly before measuring makes the frosting silky instead of grainy; I learned this after my first batch tasted gritty.
- 1 tablespoon milk: A little splash loosens the frosting to the right consistency for mixing into crumbled cake—too stiff and your balls fall apart when you roll them.
- 1 teaspoon vanilla extract: Non-negotiable for making the frosting taste like actual baking, not cardboard.
- 450 g candy melts in two school colors: These melt smoother than chocolate chips and dry faster, which matters when you're working with 24 pops and limited time.
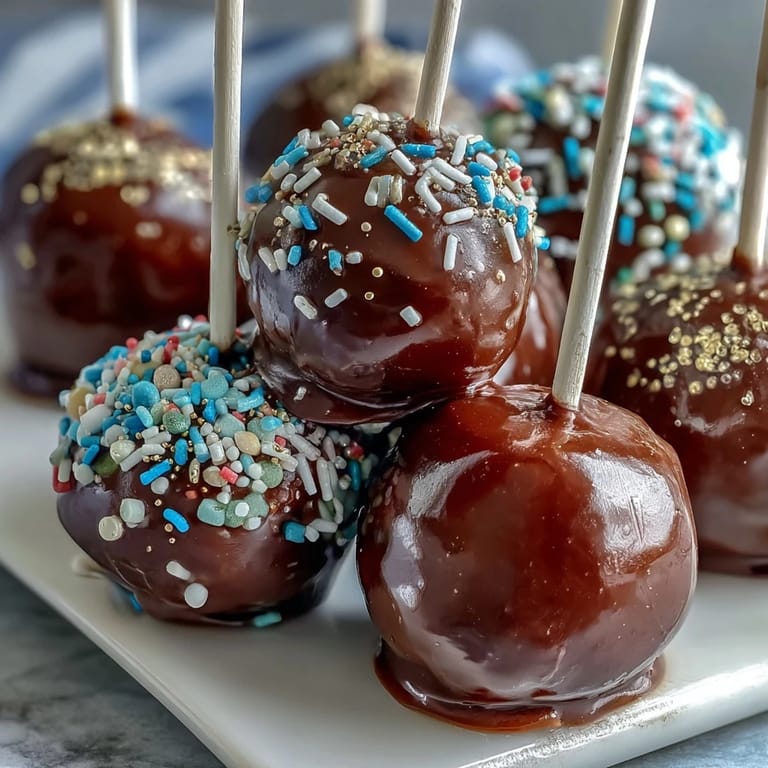
- Gold sprinkles or edible gold glitter: The detail that transforms these from cute to jaw-dropping—apply while the coating is still tacky or they'll slide right off.
- 24 lollipop sticks: The backbone of the operation; cheaper sticks sometimes splinter, so pick solid ones.
Tired of Takeout? 🥡
Get 10 meals you can make faster than delivery arrives. Seriously.
One email. No spam. Unsubscribe anytime.
Instructions
- Bake and cool your cake:
- Follow the box instructions exactly, then let the cake rest on the counter until it's completely room temperature—this takes about an hour and is worth every minute because warm cake crumbles into mush. If you're rushing, stick it in the freezer for 15 minutes to speed things up.
- Make a frosting that actually tastes good:
- Beat the softened butter for a solid minute until it's pale and fluffy, then add powdered sugar in three additions, scraping the bowl between each one. This prevents lumps and incorporates air, making the whole frosting feel less dense when you fold it into cake crumbs.
- Create the cake mixture:
- Crumble the cooled cake into the biggest bowl you own—your hands are the best tool for this, and it's kind of meditative. Add frosting gradually, mixing with your hands until the texture feels like slightly stiff play-dough that actually holds together when you squeeze it.
- Roll perfectly even balls:
- Use a cookie scoop or your hands to make 24 balls about the size of a walnut; uneven sizes mean some pops are cake-heavy and others are frosting-heavy. Line them up on a parchment-covered baking sheet and chill for at least an hour—this step is non-negotiable or your coating slides right off.
- Secure those sticks:
- Melt a small bowl of candy melts, dip each stick's end in, then push it halfway into a chilled cake ball; this acts like edible glue and keeps the whole structure from spinning when you dip. Let these sit for five minutes before moving on.
- Dip with confidence:
- Melt your two school colors in separate bowls—add a tablespoon of shortening to each if the coating feels thick, which makes it flow more smoothly over the balls. Dip each pop quickly, tap off the excess against the bowl's rim, and place it upright in your Styrofoam block before the coating sets.
- Add the finishing shimmer:
- While the coating is still wet and tacky, sprinkle the gold on immediately—this is the magic moment where they go from pretty to show-stopping. If you wait too long, the coating firms up and the sprinkles won't stick.
- Let them set completely:
- Resist the urge to taste-test for at least 30 minutes, though honestly waiting a full hour is safer if you're transporting them anywhere.
 Save
Save The thing that surprised me most wasn't how simple these were to make, but how they became little conversation starters at the graduation party. Someone asked if they could take photos before eating theirs, and suddenly everyone was doing it—these tiny cake pops were part of how people would remember the day. That's worth every minute of planning.
Playing with Your School Colors
The whole charm of these pops is that they're yours to customize. You could do alternating colors, stripes if you're feeling ambitious, or even a two-tone effect by dipping halfway in one color and halfway in another. When I helped my friend decide between her school's blue and silver, we realized the silver candy melts were going to glow like actual stars under the party lights—a practical choice that ended up looking intentional and magical.
Why Cake Pops are Perfect for Celebrations
Cake pops solve a real problem: how do you serve something sweet and impressive to a crowd without needing plates, forks, or cleanup? They're hand-held, they stay fresh for days, and they're fancy enough that people remember them. My friend ended up making these for her sister's college orientation party the next month, and honestly, that single party debut turned them into her signature dessert.
Making Them Ahead (The Practical Truth)
The beauty of cake pops is their timeline flexibility. You can bake the cake a full day ahead, make the frosting and cake balls two days before, and complete all the dipping the day-of—just keep everything tightly sealed in the fridge. I learned that the uncoated cake balls actually freeze beautifully for up to a month, so you could theoretically make these three weeks before an event and just do the fun decorating part closer to the date.
- Store uncoated cake balls in an airtight container with parchment between layers so they don't stick together.
- Finished pops keep for three days at room temperature or a full week refrigerated, though they taste best when brought back to room temperature before serving.
- If you're making these for a specific date, work backwards from your celebration to decide when to start each step.
 Save
Save These cake pops are more than just dessert—they're an edible way to say that you showed up and put thought into making a moment special. Whether you're celebrating graduation, a milestone, or just a reason to gather, handing someone a gold-dusted cake pop in school colors is like saying, "I was thinking of you."
Recipe FAQ
- → How do I ensure the cake balls hold their shape?
Mix the crumbled cake with frosting gradually until it binds without becoming too wet. Chill the formed balls for at least an hour to firm them up before dipping.
- → Can I use different cake flavors?
Yes, vanilla or chocolate cake mix works well. You can experiment with other flavors to suit your preferences or event theme.
- → What is the best way to achieve smooth candy coating?
Melting candy melts gently and stirring in a small amount of vegetable shortening helps create a smooth, even coating on each pop.
- → How should I store these decorated pops?
Store them in an airtight container at room temperature for up to 3 days or refrigerate up to one week to keep them fresh.
- → Can I customize the decorations further?
Absolutely. Adding ribbons, using different sprinkle colors, or mixing candy melts creates a personalized and festive appearance.