 Save
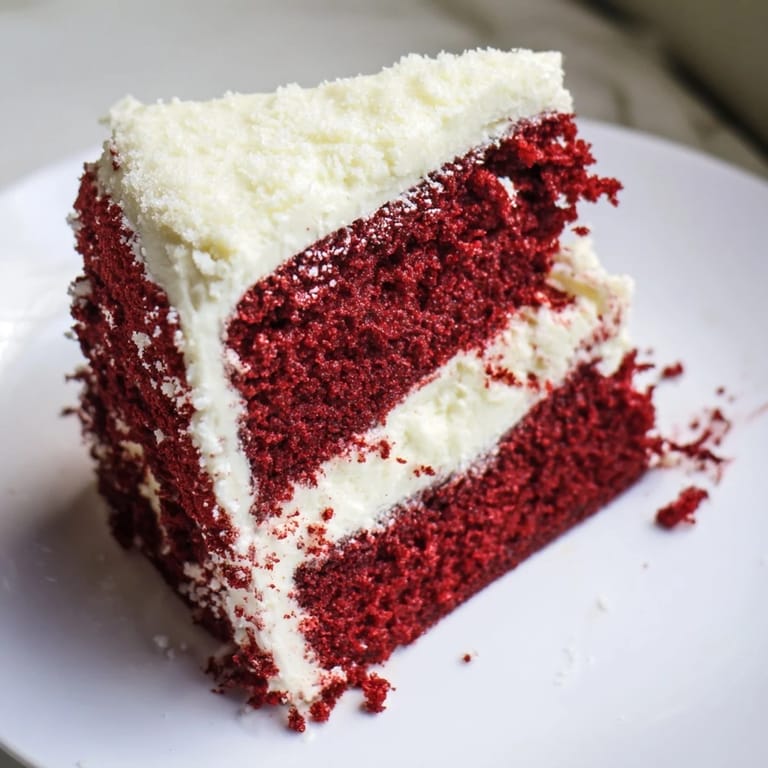
Save My grandmother kept her red velvet cake recipe in a worn index card tucked behind her kitchen window, and I must have watched her make it a hundred times before I finally understood why she took such care with every step. The kitchen would fill with this warm, cocoa-tinged smell, and she'd let me add the red food coloring drop by drop, watching my face light up as the batter transformed into something almost jewel-like. She'd always say the secret was treating it with respect, never rushing the mixing, and I've carried that philosophy forward ever since. Now when I make this cake, I'm standing in her footsteps, creating that same magic in my own kitchen.
I brought this cake to a Valentine's Day potluck years ago, and watching my coworkers' faces when they realized what they were eating felt like winning a small, delicious victory. Someone asked if I'd made it professionally, someone else immediately asked for the recipe, and there was this moment where the whole room just went quiet because people were too busy enjoying their cake. That's when I knew this wasn't just a recipe anymore, it was something that brought people together.
Ingredients
- All-purpose flour (2 ½ cups): Sifting this with the cocoa and baking soda ensures everything disperses evenly, which is what prevents those dense pockets that can happen if you're not careful.
- Unsweetened cocoa powder (2 tablespoons): This is just enough to give you that subtle chocolate note without overpowering the red velvet identity of the cake.
- Baking soda (1 teaspoon): Don't skip this, it reacts with the buttermilk and vinegar to give the cake its signature lift and tender crumb.
- Salt (½ teaspoon): A pinch brings everything into focus, making the sweetness feel less one-dimensional.
- Granulated sugar (1 ½ cups): Creaming this with butter creates the foundation for a light, fluffy structure that keeps the cake moist.
- Unsalted butter (1 cup plus ½ cup for frosting): Room temperature is non-negotiable here, it incorporates air into the batter and creates that tender crumb you're after.
- Eggs (2 large, room temperature): Cold eggs won't incorporate properly, so pull them out of the fridge at least an hour before you start baking.
- Buttermilk (1 cup): The acidity is crucial, it interacts with the baking soda to create lift and also keeps the cake incredibly moist.
- Vanilla extract (2 teaspoons): This deepens the flavor without making it taste like vanilla cake, it's a supporting player, not the star.
- White vinegar (1 teaspoon): Along with the buttermilk, this adds tang and enhances the cocoa notes in a way you can't quite identify but absolutely notice.
- Red food coloring (1 ounce): Gel coloring gives you a deeper, more authentic red than liquid coloring, but either works if that's what you have.
- Vegetable oil (½ cup): This keeps the cake tender and moist, butter alone would make it denser, so don't replace this with all butter.
- Cream cheese (8 ounces): Softened to room temperature, this is what makes the frosting taste tangy and rich rather than just sweet.
- Powdered sugar (4 cups): Sifting this prevents lumps and ensures the frosting stays silky and spreadable.
Tired of Takeout? 🥡
Get 10 meals you can make faster than delivery arrives. Seriously.
One email. No spam. Unsubscribe anytime.
Instructions
- Prepare your pans and heat the oven:
- Preheat to 350°F and grease those pans well, then dust with flour so the cakes release cleanly. This step takes two minutes but saves you heartbreak.
- Sift the dry ingredients:
- Flour, cocoa powder, baking soda, and salt go through a sifter together, which aerates them and ensures the cocoa distributes evenly throughout so you get that subtle chocolate flavor in every bite.
- Cream the butter and sugar:
- Beat these together for about three minutes until the mixture is pale and fluffy, almost mousse-like. This incorporates air into the batter, which is what gives red velvet cake its signature tender crumb.
- Incorporate the eggs:
- Add eggs one at a time, beating well after each addition so they emulsify into the butter mixture rather than sitting on top. This step makes a real difference in the texture.
- Add oil and flavorings:
- Mix in the vegetable oil, vanilla extract, and vinegar until everything looks smooth and combined.
- Combine the buttermilk and coloring:
- In a small bowl, stir the red food coloring into the buttermilk so it's evenly tinted before you add it to the batter. Gel coloring needs a few extra seconds to dissolve completely.
- Alternate wet and dry ingredients:
- Add the dry mixture and buttermilk mixture in three additions, starting and ending with dry, and stir until just combined. Overmixing develops gluten and makes the cake tough, so stop as soon as you don't see streaks of flour.
- Divide and bake:
- Pour the batter evenly between the pans and bake for 28 to 30 minutes until a toothpick inserted in the center comes out with just a few moist crumbs, not completely clean. The cake continues cooking as it cools, so don't overbake.
- Cool the cakes:
- Let them sit in the pans for 10 minutes so they set slightly, then turn them out onto wire racks to cool completely before frosting. Frosting a warm cake is a recipe for disaster.
- Make the frosting:
- Beat the softened cream cheese and butter together until smooth, then gradually add the sifted powdered sugar along with vanilla and salt, beating until light and fluffy. Don't rush this step, the fluffy texture is what makes the frosting spreadable and delicious.
- Assemble and frost:
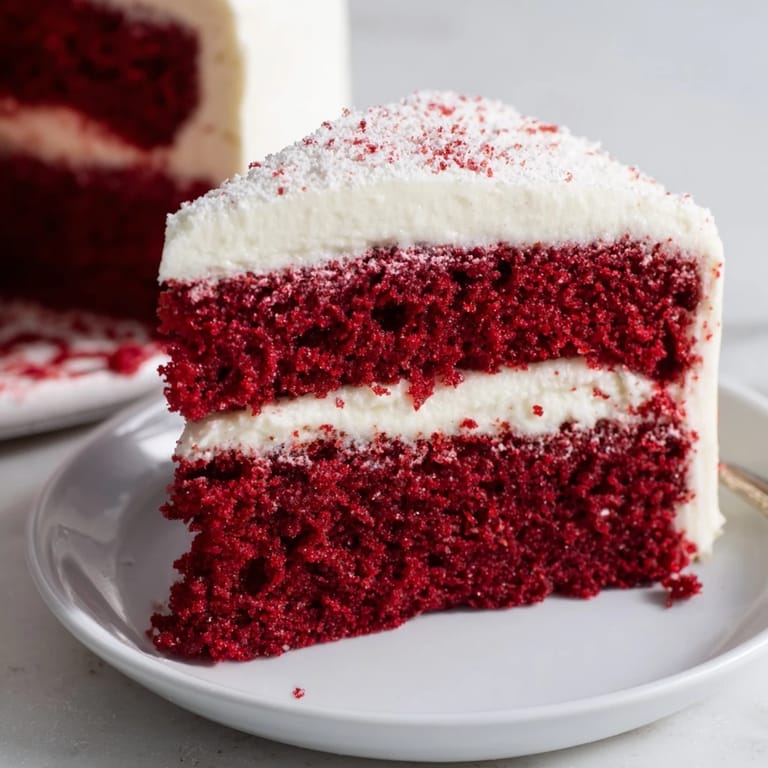
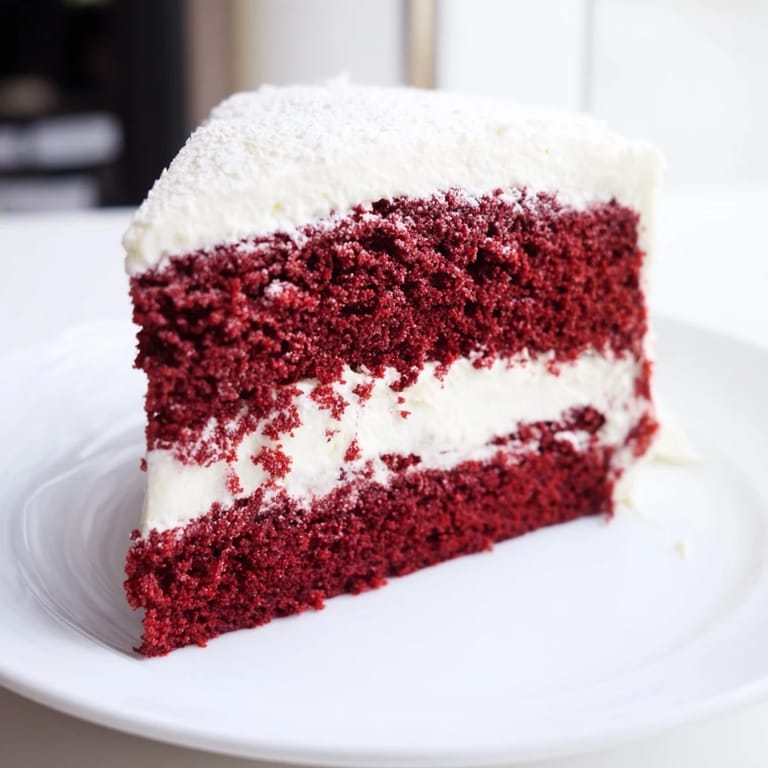
- Once the cakes are completely cool, place one layer on your serving plate, spread frosting on top, then add the second layer and frost the top and sides. A bench scraper helps smooth everything out, but honestly, a little rustic texture looks homemade and charming.
 Save
Save There's a moment when you pull this cake out of the oven and the whole house smells incredible, and you know before anyone even takes a bite that you've created something special. That's the moment this cake stopped being just a recipe for me and became a small tradition, something I make when I want to mark a day as important or tell someone I care.
Why the Oil Matters
The combination of both butter and oil in this cake seems weird the first time you see it, but it's actually genius. Butter gives you flavor and helps create that fluffy crumb, but oil keeps things tender and moist in a way butter alone can't, so you end up with a cake that stays soft for days instead of drying out by the next day. I learned this the hard way by trying to use all butter once, and the result was a dense, stodgy cake that felt more like a brownie than a proper red velvet.
The Red Coloring Question
Traditional red velvet cake uses red food coloring, and there's no getting around it if you want that iconic deep red color. Gel coloring gives you a richer result than liquid because you're not adding as much moisture to the batter, but both work. I've also seen people use beet juice or natural alternatives, which look lovely but give you a more muted, burgundy tone rather than that true red, so it depends what you're going for.
Frosting and Storage Tips
Cream cheese frosting is more delicate than buttercream, so keep it cool and don't leave this cake sitting out on the counter for hours. The beauty of making it ahead is that the flavors deepen and the cake gets even moister overnight, so frost it a few hours before serving if you can, then store it covered in the fridge. On hot days, you might want to chill the frosting on the cake itself for 20 minutes after spreading it so it sets a bit before serving.
- If your frosting gets too soft to work with, pop it in the fridge for 10 minutes to firm up.
- Leftover frosting keeps for about a week in the fridge and is delicious on other cakes or with graham crackers.
- This cake actually tastes better on day two when the flavors have had time to meld together.
 Save
Save This cake is proof that some recipes become part of your story simply because you put care into them. Every time you make it, you're not just following steps, you're creating a moment worth remembering.
Recipe FAQ
- → What gives the cake its red color?
Red food coloring is added to the batter to achieve the cake's signature vibrant red hue. For deeper color, gel food coloring can be used.
- → How is the cake's moist texture achieved?
Combining buttermilk, oil, and vinegar with the dry ingredients results in a tender, moist crumb with a subtle tang.
- → What is the purpose of the cream cheese frosting?
The cream cheese frosting adds smooth, rich sweetness and balances the cake's cocoa flavors with its creamy texture.
- → How should the cake be stored?
Cover and refrigerate the cake to preserve freshness and flavor for up to five days.
- → Can this dessert be prepared ahead of time?
Yes, bake and frost the cake in advance, then store it chilled until serving to enhance flavors.